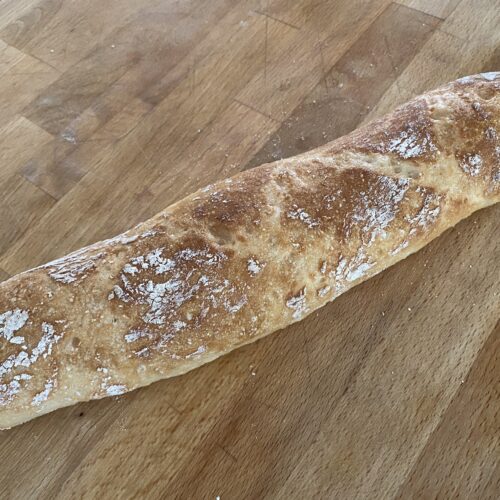
Gluten-free baguette
This recipe comes from Méli Méflo, however, I modified the steps slightly and added more detail on shaping. I use this make 2 smaller baguettesThere are a number of gluten-free bread mixes available. The source recipe used Mix Leader Price. I used Schār Bread mix which also has 2 sachets of gluten-free yeast included in the box.In making this gluten-free bread, I use a clean tea towel when covering the dough and not my baking linens which will contain traces of gluten. Likewise, I use baking parchment to line the tray. I would normally use a silicone liner but these may also have traces of gluten, even after washing.
Equipment
- Stand mixer with dough hook
- sough scraper
- Baking tray
- baking parchment
- Tea-towel (lint free)
- Plastic container for storage I use 3 litre capacity, 22cm diameter
Ingredients
- 350 g gluten free flour mix extra for work surface and dusting.
- 350 ml lukewarm water less than 40°C
- 1 sachet gluten-free baker's yeast
- 2 Tbsp olive oil
- 1 tsp salt
- 1 tsp sugar
Instructions
- Mix the gluten-free yeast with a small amount of lukewarm water, stir and leave this mixture to stand for a few minutes.
- Add the 2 Tbsp oil and 1 sugar in to the bowl and add then weigh in the flour mix.
- Add the salt to one side of the bowl.
- Zero your scales and add the yeast to the opposite side of the salt. Add water, 350g + the original weight of your yeast sachet, say 10g.
- Mix with the dough hook, starting slowly and increase to medium speed until you get a smooth dough – say 5 minutes
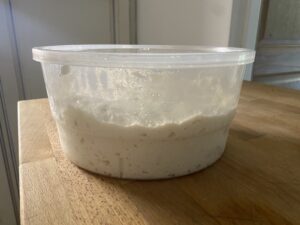
- Cover with a linen cloth or cotton cover allowing for swelling of the dough. Leave to rest in a warm place for an hour or more.ORRemove the dough into a plastic container (lightly oil the surface) and place in fridge overnight. It will still rise but much more slowly and will be ready for use the next day.

Shaping
- Flour your work-surface with gluten-free flour or starch.
- TIP: The original recipe suggests to prevent the dough from sticking to your fingers, flour your hands. My tip is the opposite: I fill a large bowl with water and keep my hands wet while handling the dough. See which works best for you.
- Take the amount of dough that you wish to use out of the bowl/container. You will probably need a spatula or dough scraper as the dough is more sticky than gluten dough.
- De-gas the dough by forming the dough into a ball in your hands. Flatten the dough on the work-surface and fold over, sealing the join. Flatten the dough again, and fold over again sealing the join. Each time you do this, your dough is going longer, in fact baguette shaped. Repeat if necessary to get the right length and thickness.
- When you have the right thickness of baguette then roll the baguette gently over your floured work surface to make it rounder. If there is any trace of a join in your dough then this should be underneath.
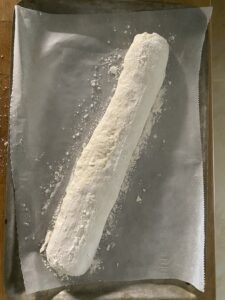
- Line a baking tray with baking paper and dust with flour. Transfer the baguette on to it (the dough scraper under a section and your hand). Place a damp (not wet) tea-towel over the baguettes. Leave to rest again for at least 45 minutes.

- If, after proofing, the dough has risen but the shape to have spread outwards and seems flat, gently use the dough scraper to roll the dough a little to make the baguette narrower and rounder.
Baking
- Put oven wire shelf in the the centre of the oven and preheat to 230°C. Have the drip tray in position at the bottom of the oven.
- Dust a little more flour over the surface of the baguette. Score the baguette with a small sharp knife using a different pattern to your standard baguette eg a criss-cross pattern.
- Pull the drip tray out and pour a small jug of water at least 300ml into the oven drip tray. Be careful of the rising steam.
- Place the baguette(s) in the middle of the oven. Bake at 230°C for 20 to 25 minutes.
- Remove from the oven and place on cooling rack.
Notes
Gluten free yeast
- Schār included in bread mix box
- UK: Allinsons
- France: Alsa Levure du Boulanger
Tried this recipe?Let us know how it was!
