
Your every day bread. You really do get into a routine with making sourdough bread. Don’t be too worried about exact timings of 1 hour and it doesn’t matter if you leave it longer
White Sourdough Loaf (no knead)
Equipment
- large mixing bowl
- dough whisk or fork and spatula
- banneton 18 to 22 cm wide
- Cloche if you have one If not a then just use a baking tray. The baking instruction will differ (stage D)
Ingredients
For the leaven
- 100 g white flour sourdough starter
- 50 g strong white flour
- 50 ml lukewarm water
For the Dough
- 200 ml lukewarm water
- 400 g strong white flour
- 10 g salt
- more flour for work surface and dusting
Instructions
A Set the leaven
- Put the sourdough starter in the mixing bowl and add the 50ml water. Use a dough whisk (or forks) to mix the starter into the water.
- Add the flour and whisk again. Cover with a cloth and leave for 4 hours.
B The Autolyse
- Add the 200ml lukewarm water to the leaven and mix the leaven with the dough whisk (or fork).
- Add the flour and then mix with spatula until the flour and water are combined. Cover the bowl with a cloth and leave to rest for 1 hour.
C Proofing
- Salt: Sprinkle the salt on the surface of the dough. Wet you handwith cold water. Squeeze your hand through the dough 4 or 5 times. Leave covered with cloth for 1 hour.
- Stretch and fold: Again with wet hands, pull the dough from underneath, stretching and folding over the top. Turn the bowl 180º and repeat. Turn the bowl another quarter of a turn and repeat the stretching of the dough from underneath to top, and finally turn the bowl 180º and repeat. This tightens the dough and you will feel the dough become more difficult to stretch. You may choose to turn and stretch twice more depending on the feel of the dough. Leave covered for 1 hour.
- Repeat this stretching and folding each hour, 2 more times.
D Baking
- In the morning, take the dough out of the fridge and heat the oven to 220ºC
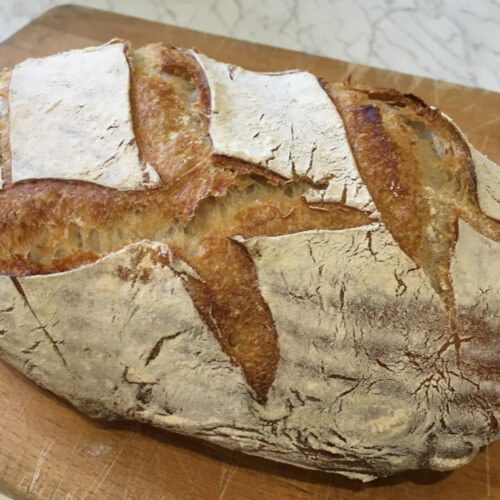
- In the instructions that follow, you need to use a sharp blade to make some slashes in the surface of the dough. This is not just for decoration. The slashes in the surface enable the bread to rise. Depending on how tight your dough is at this point, some slash patterns could weaken the strength of the shape. This would make the loaf spread (so appearing to rise less) during baking. It will still taste fine and it does not affect the texture. 3 parallel slashes would be a safe option.
Cloche baking
- Put the cloche inside the oven while it is heating up. Leave the cloche to heat up thoroughly – at least 20 minutes from when the oven has reached temperature
- Take the cloche out of the oven, remove the lid and tip the dough, by quickly turning the banneton/bowl up side down into the base of the cloche.
- Use a lame to slash your desired pattern into the surface of the dough and replace the cloche lid and return to the oven.
- Bake for 12 minutes then turn down the temperature to 200C and continue for a further 25 minutes. Remove the lid of the cloche and bake for a further 8 minutes
Baking Tray
- Put a baking dish full of water in the bottom of the oven while it is heating up.
- Tip the dough on to baking tray by quickly turning the banneton/bowl up side down. Use a lame to slash your desired pattern into the surface of the dough and put the baking tray in the oven.
- Bake for 12 minutes then turn down the temperature to 200C and continue for a further 33 minutes.
Tried this recipe?Let us know how it was!